 A while ago I was looking through a newly purchased cookbook on Italian desserts. To be honest, I bought the book mainly because I was enticed by a photo of a pear cake; golden in colour and topped with a laurel of sliced pears. With greedy anticipation I bought the required four pears, waited for them to ripen, and then diligently followed the recipe. The cake that came out of the oven was beautiful to behold…and then the first bite. What a disappointment! You would have been hard pressed to say where the pears had disappeared to.
And so began the search for the pear cake of my dreams.
I leafed through several cookbooks in my collection but was struck by how similar the pear cake recipes were. Nothing that suggested it would yield the wack of pear flavour I craved. Soooo…time to get creative!
 For years I have read and enjoyed the food writing and recipe development of America’s Test Kitchen. While I haven’t always agreed with what they’ve deemed the definitive version of whatever, I have been drawn to their methodology. Now I am determined to give it a go myself, wondering how many pear cakes it would take me to reach perfection (or cause a family revolt: “Not another pear cake!”).
The first thing I decided was that I had to know more about my main flavour: the pear.
Most grocery stores carry three or four varieties of pear: Anjou, Bosc, Asian, and on a more seasonal basis, Bartlett. Anjou and Bosc pears are both fine for baking and cooking. My pear of choice is the Bosc pear because it holds its shape and texture slightly better than the Anjou and has a somewhat more assertive flavour. Asian pears are closer to apples and are best eaten raw or used in salads. Bartlett pears are excellent for eating but turn to mush when baked or cooked. Most canned pears are Bartlett. For a reason I surmise has something to do with the canning process, canned Bartlett pears can be used (in a pinch) in baking if well drained.
The next thing I had to determine was, how do you know when a pear is ripe? Too often I’ve had pears that don’t appear ripe one day and then, almost in the blink of an eye, are brown and mushy in the centre. Bartlett pears are the only ones that change colour as they ripen, going from green to yellow. Pears ripen from the inside out which is what makes it tricky to determine their readiness. The best test is to press gently on the neck of the pear near the stem. If the pear is ripe, there should be a small amount of “give”. Store pears at room temperature until ripe and then refrigerate to gain a few extra days before they become candidates for the food waste bin.
Armed with my new knowledge of pears, I went out and bought several pounds of Bosc pears, unsalted butter, eggs, sour cream, and buttermilk. After all, who knew what I might need before I was finished?
 Recalling a coffee cake recipe that had the baker fold lemon curd into the cake batter, I made a thick pear sauce (reminiscent of apple sauce) and folded it into the cake batter of the original recipe. I increased the amount of flour by a few tablespoons to compensate for the extra moisture and then stirred in the chopped pear. When the cake came out of the oven, it looked promising. When cut, the texture was fine, the over-all appearance enticing. But the pear taste? Still wasn’t there. What next?
I decided to scrap the pear sauce as it hadn’t contributed anything but extra work – and who needs that? Then I had a brainwave. Inspired by my cranberry coffee cake that has a layer of fruit in the middle, I set to making a third version of the pear cake. I put half of my batter into the pan and covered it with all the chopped pears. I then blanketed the pears with the rest of the batter, and finished off with a fanfare of sliced pears on top. For the first time I was able to taste the pears as a distinct entity but, somehow the cake was lacking “umph”. Back to the drawing board.
I won’t bore you with the next several attempts – which included the introduction (and dumping) of streusel, cocoa, and chocolate — but jump to pear cake #8 which was almost there – finally!
In researching other pear cakes I had come across an upside down one that called for rock-hard (unripened) pears which were poached in a red wine reduction below the batter as the cake baked. I tried it and while the treatment of the pears worked really well, the cake part was, to my taste, awful. But it got me thinking. Why not replace the wine with a reduction of pear nectar? I really liked the idea of using rock-hard pears because *sigh* what else does the grocery store ever have? For the cake part I went to a recipe for an upside down vanilla pear cake by Great British Bake Off contestant James Morton that I had made before. I adapted his batter recipe by adding ground ginger and almond extract to up the flavours. I also substituted vanilla bean paste for the seeds called for in the recipe and combined his batter with the rock-hard pear treatment.
 One last change – another “hit” of pear was needed to carry the taste from the top to the bottom of the cake. I’d learned that to be tasted, the pears inside a cake were best layered together rather than folded in. But I couldn’t use rock-hard pears in the middle of the cake and I wasn’t prepared to fuss around with coordinating pears of two degrees of ripeness nor was I prepared to go to the trouble of poaching the pears separately. After all, you reach a point where the whole baking project becomes too much effort. My solution? Canned pears because they are tender but maintain their shape in baking when well drained.
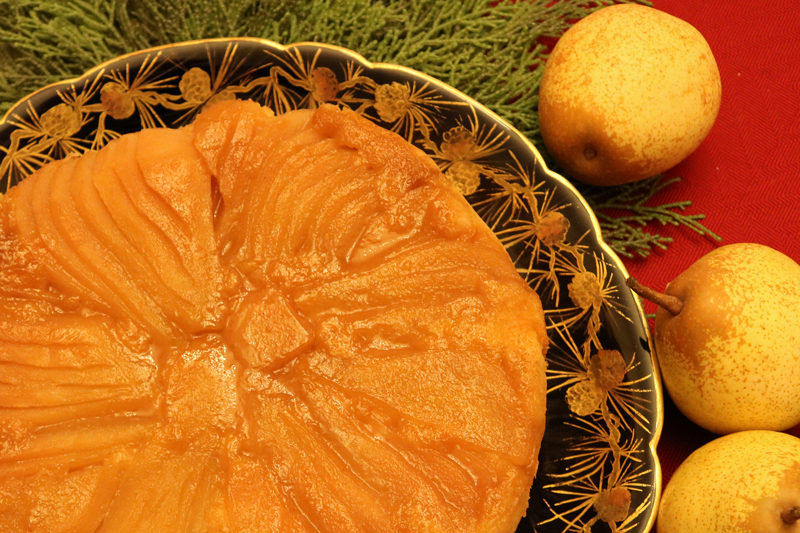
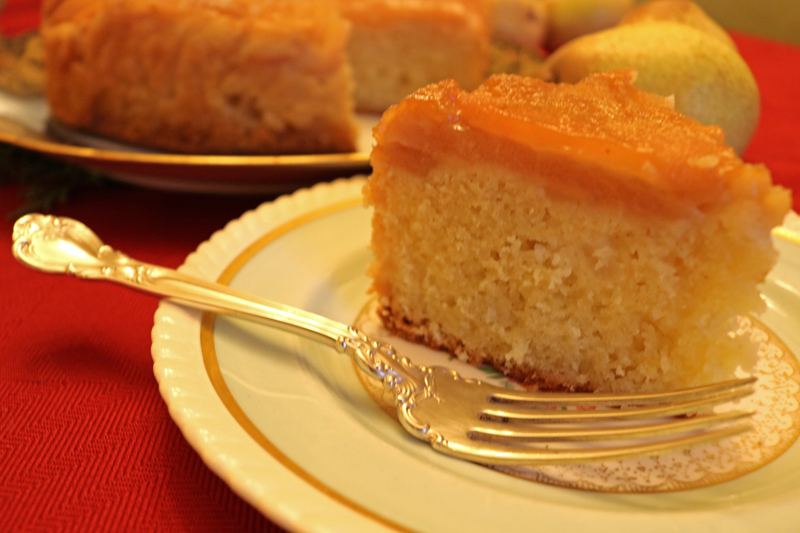
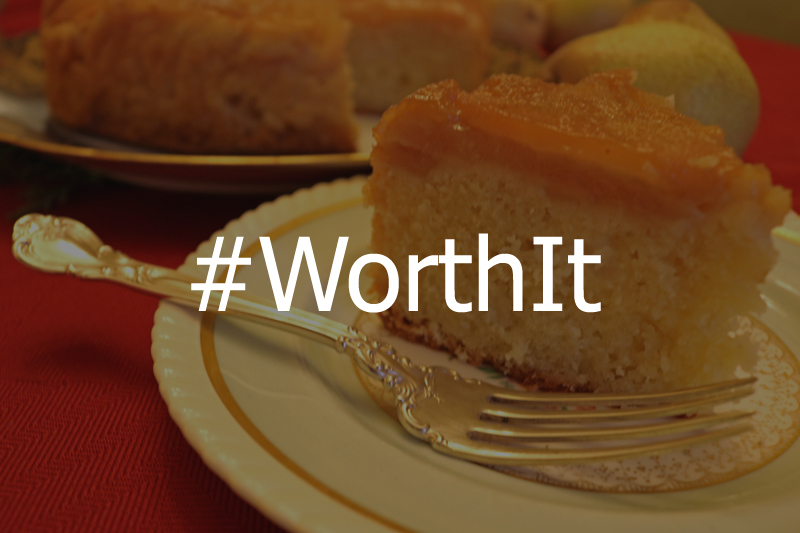
So – Pear Cake #9 – pears that you can taste throughout and a cake with just a hint of almond. The pear cake of my dreams. If you want to make it really extravagant, serve the cake with whipped cream, vanilla or coffee (preferably Hagen Daas) ice cream, and a sauce – chocolate or caramel.
This cake is to die for, no matter how you serve it.
Pear Cake #9

- Serves: 10-12
- Hands-on Time: 60 minutes
- Baking and Cooling: 2-3 hours
Ingredients:
Bottom Pear Layer (which will become the top):
- 4 Bosc pears (rock-hard)
- 1 cup pear nectar
- 3 tbsp. dark brown sugar
Cake Batter:
- One 796ml (28oz) can Bartlett pear halves in pear juice
- 250 grams (approx. 1 cup + 2 tbsp.) unsalted butter, softened
- 250 grams (approx. 1 ¼ cup+ 1 tsp.) granulated sugar
- 4 large eggs
- 75 grams (approx. ¼ cup) Greek-style yogurt
- ½ tsp. vanilla bean paste or ¾ tsp vanilla extract
- ¼ tsp. pure almond extract
- 260 grams (approx. 1 ¾ cups + 2 tbsp.) self-rising flour*
- 1 tsp. baking powder
- 1 tsp. ground ginger
Steps:
- Prepare the pan by lining a deep, 9’’ cake pan with aluminum foil, being careful not to tear the foil. Spray the foil-lined pan with cooking spray. Sprinkle the 3 tbsp. of dark brown sugar evenly over the bottom of the pan. Set aside. Take 4 Bartlett pear halves out of their tin and cover with paper towelling to absorb moisture while you continue with other parts of the cake. Just before you start to make the batter, gently press each pear half with paper towel to remove more moisture – you won’t get it all but you will get enough to dampen the paper. Chop the pears into ½’’ cubes and set aside in a bowl lined with paper towel.
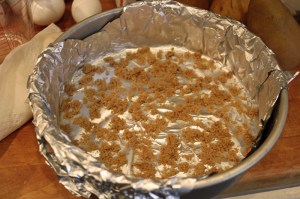
9″ Pan, lined with foil, sprayed, sugar sprinkled - Pour the pear nectar into a small saucepan and, over medium heat, reduce to ¼ cup (takes about 15 minutes). Remove from heat and set aside.
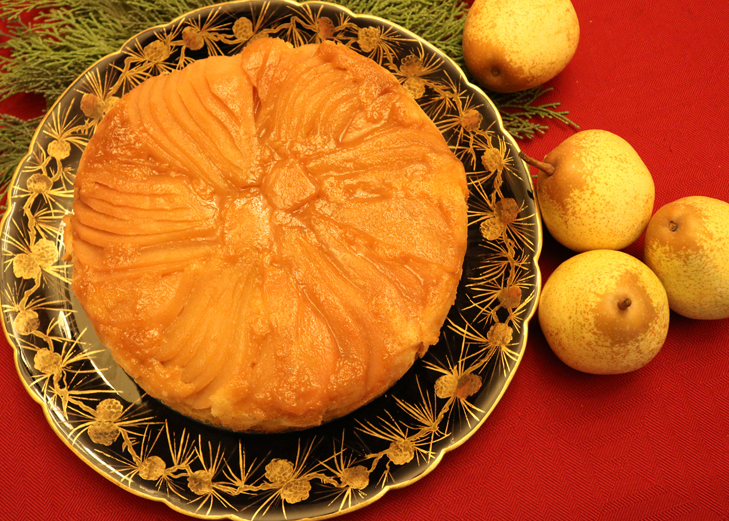
- Making the bottom (it will become the top when you flip it): Peel the Bosc pears, cut in half lengthwise. Then remove the core with a spoon or melon baller. Cut the pear halves into ¼’’ slices starting at the bottom and working up towards the top, stopping short of the top so that the slices remain connected at the top of the neck. Fan out the sliced halves and place in the pan, necks towards the centre of the pan and insides facing up. The outsides of the pear are down, resting on the bottom of the pan. Pour the reduced nectar evenly over the pears. Set aside. Set the oven to preheat to 325F.
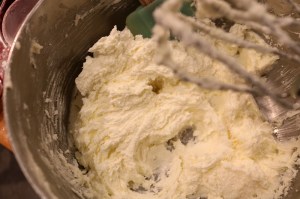
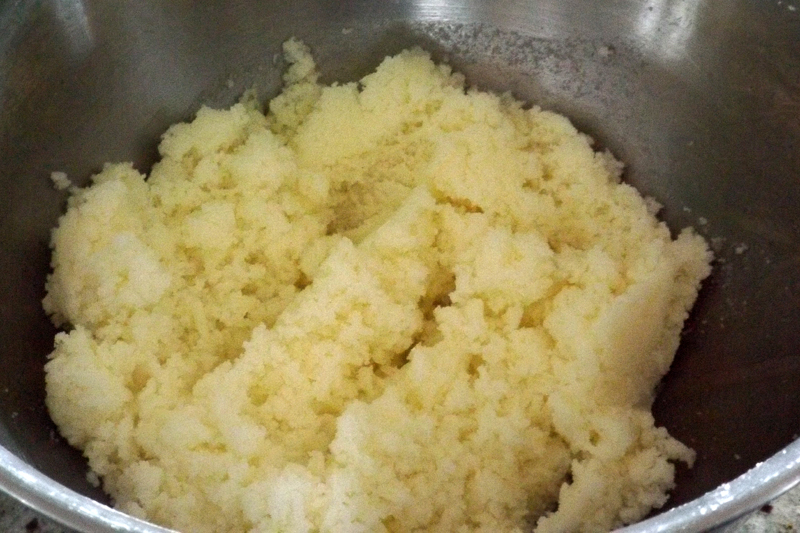
- To make the cake batter: Combine the butter and granulated sugar in a large bowl and beat together until light and smooth. This will take about 5 minutes with an electric hand mixer or 3 minutes with a stand mixer fitted with the paddle.
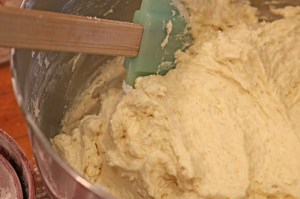
Completed mixture for step 4 - Add the eggs, one at a time, beating well after each addition. Add the yogurt, vanilla bean paste, and almond extract and beat well to combine. The batter may look curdled – that’s okay.
- Whisk together the flour, baking powder, and ginger. With a spatula, gently fold the flour mixture into the butter/sugar/egg mixture just to combine. It will be quite a thick batter. If you find it too thick, stir in a little more yogurt so that it’s of a dropping consistency.
Completed mixture for step 6 - Using half the batter, drop in mounds on top of the pears in the pan and carefully spread the batter to cover the pears completely. Scatter the chopped pears evenly over the batter. Cover the chopped pear layer with the remaining batter by dropping it in mounds over the pears and then spreading carefully to cover.
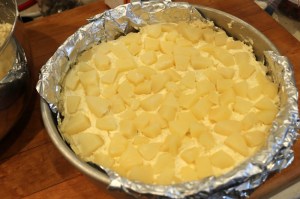
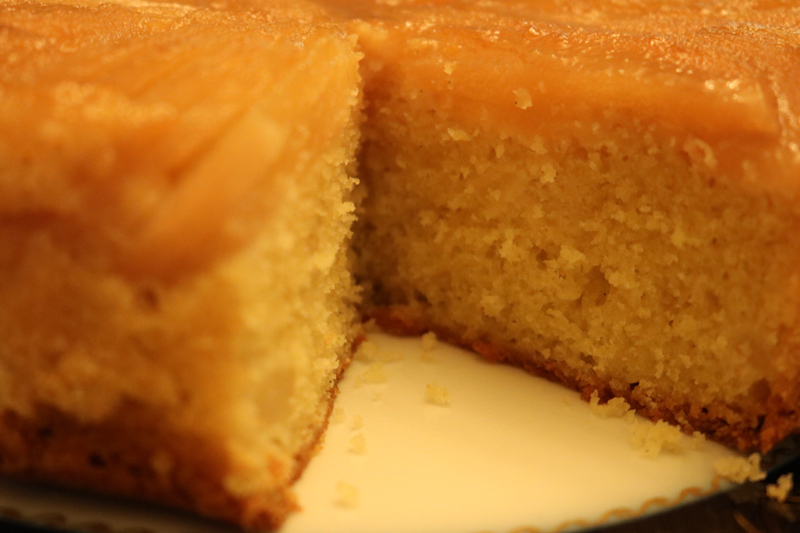
Middle pear layer, before covering with batter - Bake cake in the centre of the oven until a tester near the centre of the cake comes out clean (about 1 hour and 25 minutes). At about the 1 hour, 15 minute mark you may want to place a piece of aluminium foil over the top of the cake if it is browning too quickly.
- Once the cake is out of the oven, leave it to cool in the pan for 15 to 20 minutes. When cooled, flip the cake pan and turn the cake out onto a plate and carefully remove the foil. Let the cake cool completely. Enjoy!
*You can buy self-rising flour or you can make your own by adding 1 ½ tsp. baking powder and ½ tsp. fine salt for each cup of all-purpose flour.
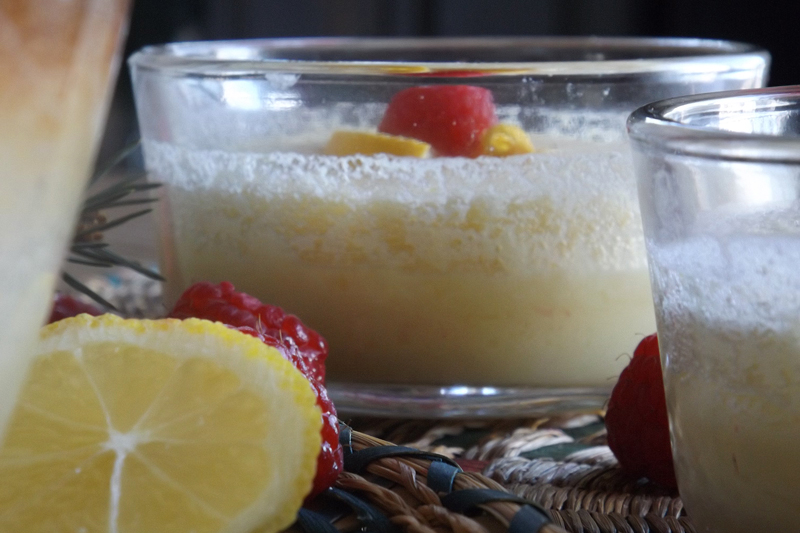


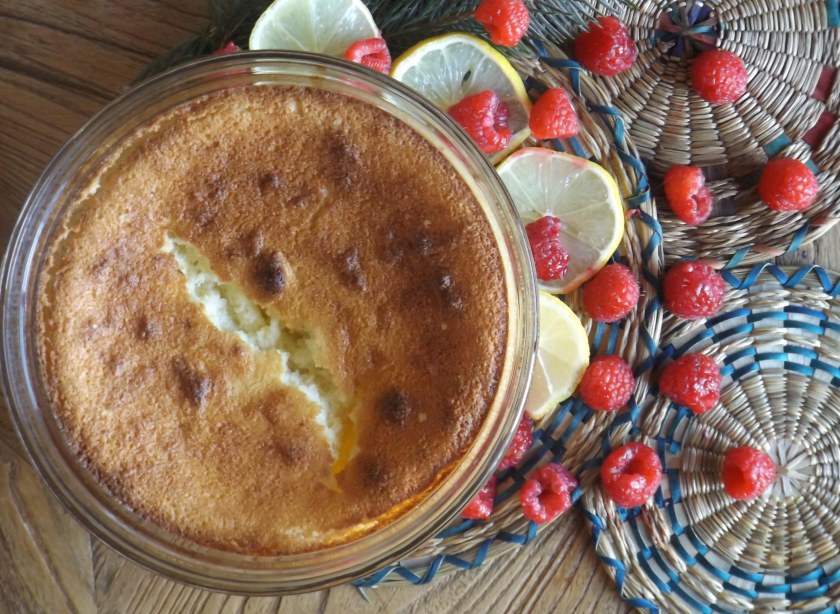 Some of my grandmother’s recipes that I really can’t do without are written on the end pages of one of the first cookbooks that I purchased for myself, The Fannie Farmer Baking Book, when I moved into my first apartment. Of those, the one that I return to most often is Nain’s Lemon Pudding. It is light, fresh, and deliciously lemon. I like to serve it warm with a scoop of frozen vanilla yogurt.


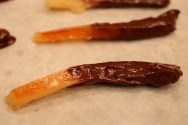
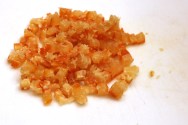
 Most Decembers I make candied orange peel. Last year I decided to use my own peel in place of the commercially produced kind called for in recipes. Tasted side by side, there is no comparison between the homemade and store-bought peel. As I had made much more than I needed, I chopped up some into pieces similar in size to the commercial and suspended them in some of the cooking syrup. The rest, coated in sugar, I left in strips. I froze both in freezer-proof Ziplock bags and forgot about them until this November when I was working on