
Starting a blog is a fun and interesting for me (and a lot of work for my more tech-savy kids, Owen and Deanna). Through the blog I’ve reconnected with friends I’d lost touch with and have had some good conversations.
 One of my friends and I shared a back-and-forth on the challenges of hosting parties given all the dietary restrictions – beyond the usual food likes and dislikes – that abound today. For example, in my immediate family there are several considerations that have to be taken into account when planning a menu: one of my children has a nut allergy (developed as an adult), another has become lactose intolerant and cannot, like one of her aunts, tolerate pork or ham; a sibling has become lactose intolerant and cannot have gluten products unless they are organic; another family member is allergic to shrimp and prawns. All things considered, at times it feels like the list of foods that cannot be served is longer than the list of those that can! Plain rice anyone? Some of the problems are easily solved – like the pork and prawns – just don’t serve them. Keeping things both lactose and gluten free is more of a challenge. Finding organic flour is easy these days but we have a friend who has Celiac Disease and so any gluten-containing flour, organic or not, is out. My friend, with whom I was having the conversation,commented that my family sounded like hers, except that her husband is also diabetic and has to be very careful about sugar intake. As our conversation continued, she told me about how her husband, an Australian, loves pavlova and meringue which, of course, are mostly sugar. She had tried experimenting with various sugar substitutes and found them either way too sweet, with a bitter aftertaste, or, that they responded to heat in ways that didn’t work.
Now here was a challenge that I was excited to tackle! How to get the sugar out of meringue and yet have a good meringue. And, four cartons of egg whites and numerous eggs in the shell later, I think I have an answer.
It is important, however, if sugar consumption is critical for you, that you make your own determination of what amount is good for you. I am not an expert on diabetes or blood sugar levels.
Meringue 101 – The Prerequisite
Meringue is basically sugar suspended in egg white and baked. Rather than going the sugar substitute route, I decided to see what was the least amount of sugar I could add and still get an edible meringue.
 My starting point was classic meringue. My Nain used to make meringue nests quite often and stored them in a huge glass jar. They were sweet and crispy – the kind of crispy that taught you why a fork and spoon are provided across the top of your place setting for dessert. If you didn’t pin down the meringue with your fork, more often than not a chunk of meringue went flying across the table (and if you were really unlucky, off the other side and into someone’s lap) . The meringue nests got various fillings – lemon curd, a mousse, or ice cream and sauce. All very good but definitely an etiquette challenge.
From watching The Great British Bake Off I have learned that the most desirable meringue is not just crisp on the outside but softer and more marshmallowy on the inside. This difference in texture is achieved by the addition of a small amount of either lemon juice or vinegar as the meringue is being beaten. Personally, I prefer lemon juice to the slight note vinegar leaves.
Aside from egg whites, the next major ingredient in meringues is sugar; as much as two cups over four egg whites in some recipes – enough to make your teeth want to retract back up into your gums and completely impossible for a diabetic.
Reinventing the Wheel
I started with a rough estimate of how much sugar might be acceptable using my friend’s information (1 tsp of sugar over 2 meringue cookies) and worked to lower the sugar even more to allow for fillings in a meringue nest or pavlova. For the meringues I developed, I used 8 tsp of sugar for 4 large egg whites (12 tbsp of egg white from a carton). When whipped up, this amount will yield about 8 – 3 inch meringue nests or 1 large pavlova base. That amounts to no more than 1 tsp of sugar per nest!
 While working on the sugar reduced meringues, one of the first things I found was that using my stand mixer beat way too much air into the whites and the baked product was akin to styrofoam. Using my electric hand mixer on high worked perfectly.
To help stabilize the whites (especially because of the drastically reduced amount of sugar), I used somewhat more cream of tartar than would normally be used for the number of egg whites. Finally, without all the sweetness of sugar, the meringue was lacking in taste. This problem was remedied with vanilla extract, a small amount of almond extract, and a pinch of salt.
When baking, I found that small meringue kisses piped through a large star tip, crisp up with a 25 to 35 minute bake and can be cooled either in or out of the oven. Larger meringues, like the nests, shrink a little during baking and cooling and then need several hours to crisp up.
 The real baking challenge was the large shell for for a pavlova. I tried baking it at a higher starting temperature (350F – normally meringues are baked at between 200F and 250F for around an hour) to set the meringue. Then, after 5 minutes, I turned the temperature back down to the more usual range to finish baking but the meringue browned too much and didn’t crisp. I tried a longer bake at a low temperature. The first attempt at this resulted in a charred meringue as the oven setting had somehow got changed from Fahrenheit degrees to Celsius without me noticing. Oven tricks aside, the longer bake at a low temperature was ultimately a fail. It looked good but it just wasn’t crisp.
This effort was left sitting to one side in the kitchen for two days before it caught my attention again. And guess what? It was nice and crisp on the outside and softer on the inside! Looks like a prolonged drying time was all that was needed. Lesson learned: if you want to make pavlova using this meringue recipe, start three days ahead of when you want it. Other alternatives are to either make a deconstructed pavlova using “kisses” or individual pavlovas with meringue nests. All the meringues will keep several days in a dry, airtight container once they have crisped.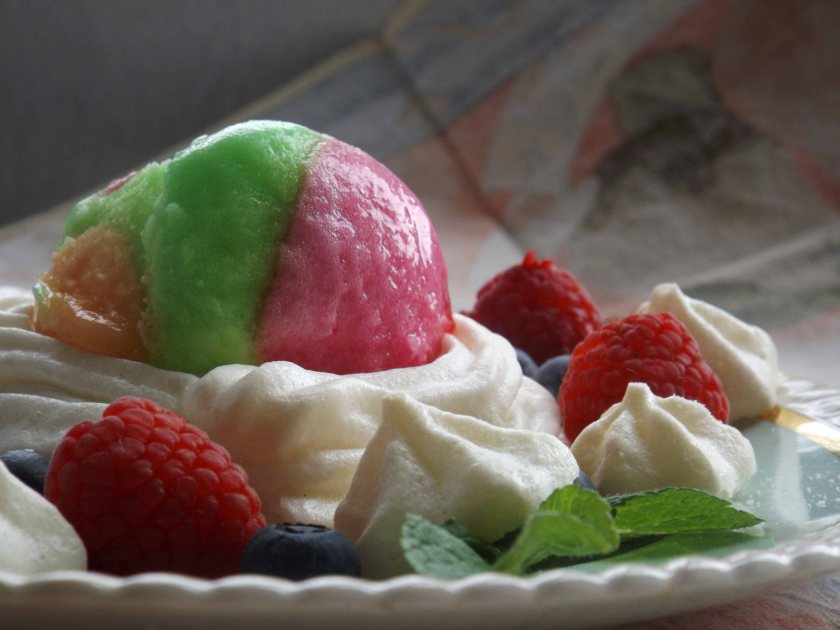
Meringue 201
Now, whether making a high or low sugar meringue, there are some basic rules that apply. Meringues are sensitive to moisture and humidity in the air so it is always best to make them on a dry day. Most important of all, however, is that the egg whites remain totally free of any fat because even the smallest amount of yolk in the whites will prevent them from whipping up properly. Also, the bowl in which you are whipping the whites needs to be either glass, stainless steel, or copper. Bowls made of plastic or other materials may look clean but, in fact, they have absorbed fats and oils over time and will prevent your egg whites from whipping up. I do not even use rubber or wooden spatulas in my egg whites before they have reached the desired degree of stiffness.
I found that there is very little difference in performance between using egg whites from a carton and egg whites obtained by separating whole eggs in the shell except that I was then left with a lot of yolks that I didn’t necessarily have a use for. On the other hand, if you are planning to make crème pâtissière or crème diplomat for your nests or pavlova, then whole eggs are the way to go. Whatever the source of your egg whites, you should let them come to room temperature before whipping them because they will whip up higher. Hint: it is easier to separate cold eggs just out of the refrigerator and then let the separated egg whites and yolks come to room temperature. The final thing to know about meringues is that they like a long slow bake in a low oven (200F to 250F) and are best left to cool for at least an hour in the turned-off oven. For full sugar meringues in particular, cooling in the oven helps to prevent cracking.
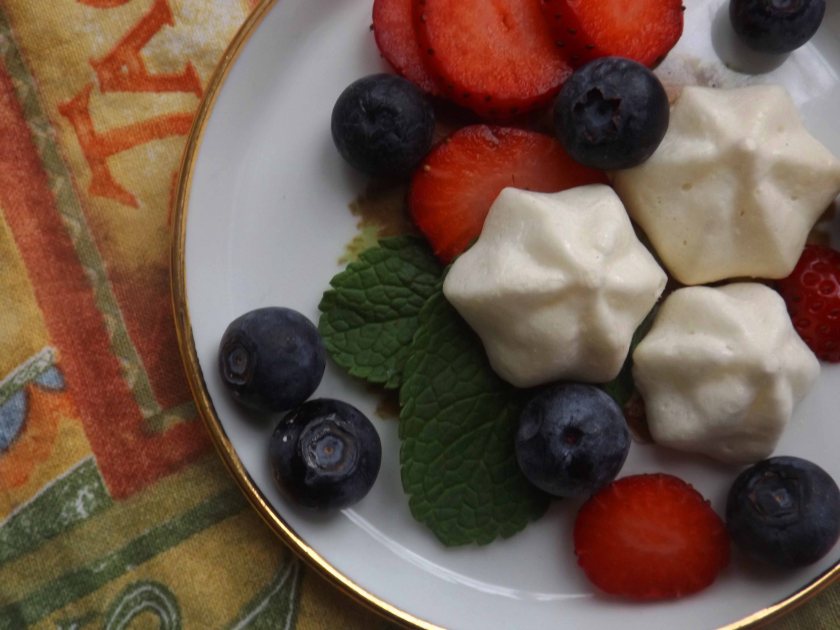
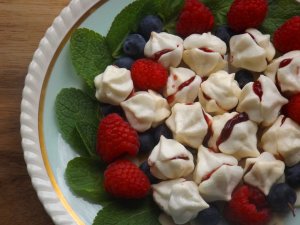 One last note about these low sugar meringues. Once they are exposed to moisture they soften much more quickly than traditional meringues. For this reason, I recommend not filling or constructing your nests or pavlova more than about 45 minutes before you plan to serve them. You can have all the elements ready and then it takes not even 5 minutes to finish the dessert off. You will also notice in the photos, that I have sandwiched some of the little kisses together with raspberry jam and they became soft quite quickly. The jam I used was a President’s Choice blue brand that I hadn’t noticed before: a raspberry jam without added sugar and also without any artificial sweetener (which I can always taste). It’s quite a moist, soft-set jam, but really good. I’ve also been using it as an accompaniment to lemon cheesecake.
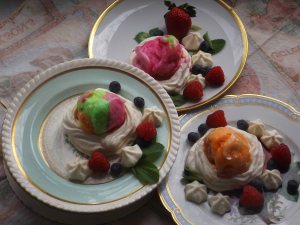
 Because my trials and experiments left me with egg yolks, I also made an orange flavoured crème pâtissière in which I reduced the sugar to 1 tbsp for the whole amount and used orange extract and orange zest for the flavouring. If you are not concerned about adding sugar or alcohol, you might want to increase the sugar to 3 to 4 tbsp and flavour with orange zest and an orange liqueur. For one pavlova, I used the crème pâtissière as was and then topped it off with vanilla flavoured, unsweetened, whipped cream and fruit. For the other pavlova and the meringue nests, I folded the crème pâtissière and the whipped cream (which I further stabilized with gelatin) together to make crème diplomat.
Meringues are quick and easy to make. You can have them in the oven in under ten minutes and the results are impressive and elegant.
So, let’s make meringues!
Crispy and Practically Sugar Free Meringues

**It is important if sugar consumption is critical for you, that you make your own determination of what amount is good for you. I am not an expert on diabetes or blood sugar levels. **
- Serves: 6-8
- Hands-on Time: 10 min
- Cooking: 45 min
Ingredients:
- 4 large egg whites (or 12 tbsp. egg white from a carton), at room temperature
- ½ tsp. cream of tartar
- ⅛ tsp. salt
- 8 tsp. granulated sugar
- 1 tsp. pure vanilla extract
- ¼ tsp. pure almond extract
Meringue Steps:
- Preheat the oven to 225F. Line a baking sheet with parchment paper. If you are making nests, draw eight 3” circles, about 2” apart, on the parchment and then turn it over so the pencil marks won’t transfer to your meringue. If you are making a base for a Pavlova, draw an 8” or 9” circle on the parchment and turn over.
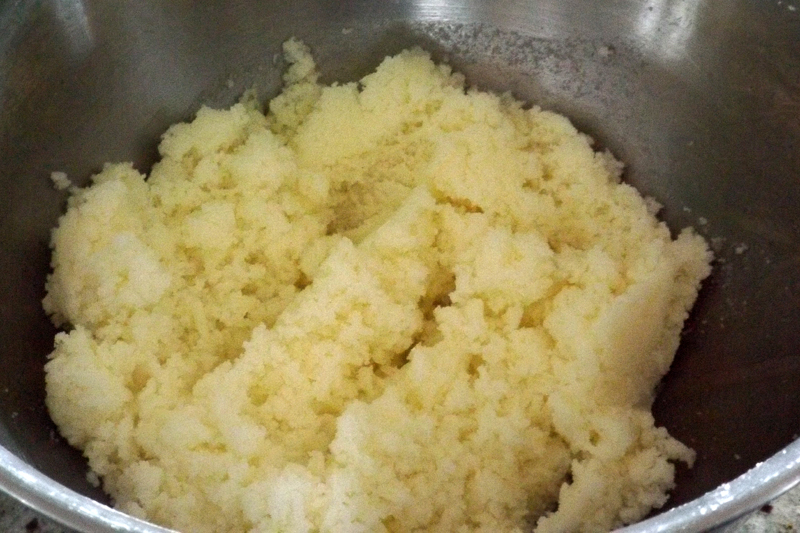
- With an electric hand mixer or a balloon whisk, beat the egg whites until they are frothy – like the foam on a latte. Sprinkle the cream of tartar and salt onto the whites and continue to beat until you have soft peaks (another minute or two). Gradually start to beat in the sugar, about a teaspoon at a time and continue to beat until you have stiff peaks and you can no longer feel any graininess or grit when you rub a little of the mixture between your fingers. It should feel completely smooth. This indicates that the sugar has totally dissolved into the egg whites.
 When you start beating the mixture will look like bubbles
 Keep going until it looks like latte froth
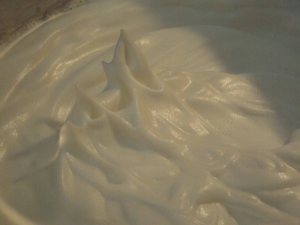
Eventually it should have whipped peaks. - Add the vanilla and almond extracts and beat for another three minutes.
- At this point you have several options:
- Meringue Nests – spoon the meringue onto the circles you drew and then spread them out from the centre with the back of the spoon, building up the edges to form a nest.
- Another way to make a meringue nest is to place the meringue in a large piping bag fitted with a large open star tip. Then pipe the meringue onto the circles, starting at the centre and piping out in concentric circles until you reach the edge. Then you can build up the sides by piping around the outside ring, one layer on top of another until you have three layers forming the sides.
- Pavlova – mound the meringue in the centre of the circle and then use a spatula to work the meringue out from the centre, make sure that there is an indentation in the centre when you are done. Smooth out the meringue on the sides as if you were icing a cake and then make deep diagonal grooves from bottom to top at intervals, all around the circle of meringue.
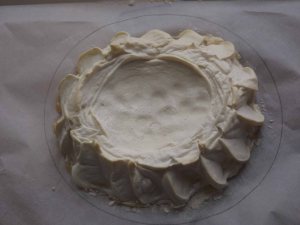
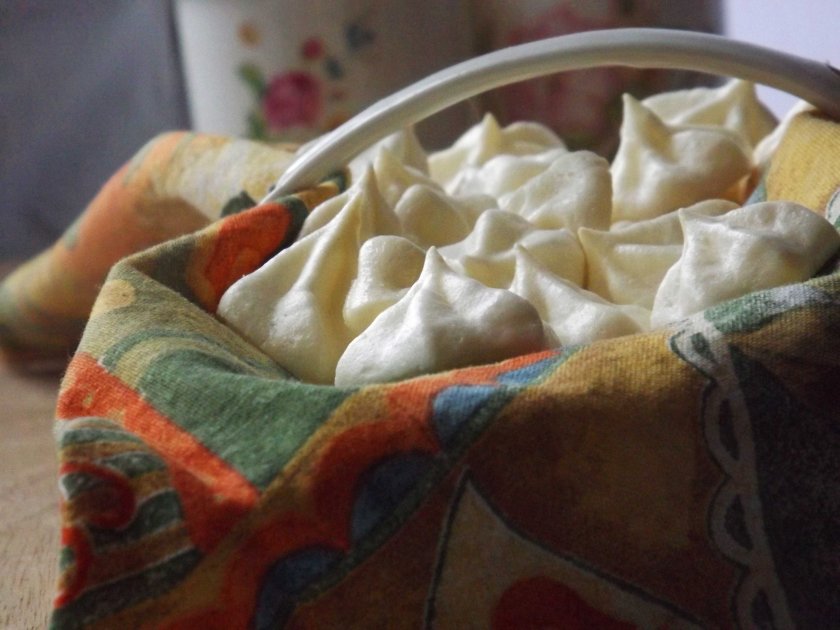
Baked Pavlova – Dipped Centre - Kisses – Pipe the meringue into kisses using the large open tip star (you can also do this with extra meringue if you have some left after piping your nests).
- Eton Mess – Spread the meringue flat on the sheet in a single layer.
- Meringue Nests – spoon the meringue onto the circles you drew and then spread them out from the centre with the back of the spoon, building up the edges to form a nest.
- Once you have formed your meringues, place them in the oven and bake them for 35 to 45 minutes. The meringues will still feel soft and kind of leathery, but not sticky, when touched gently. If they still feel sticky and show your fingerprints, bake for about 10 minutes longer. Turn off the oven and leave the meringues in it to cool for about an hour. After that, remove the meringues from the oven and cool completely. Nests will take about three hours to crisp up, Pavlovas, up to three days. Drying meringues out with so little sugar just takes patience.
- Depending on whether you wish to make a nest, Pavlova, or Eton Mess, do the following:
- Nest – You can treat the nests as mini Pavlovas or use other fillings such as lemon curd, a mousse (fruit or chocolate flavoured), ice cream and sauce, or sherbet. Add any other sprinkles or decorations.
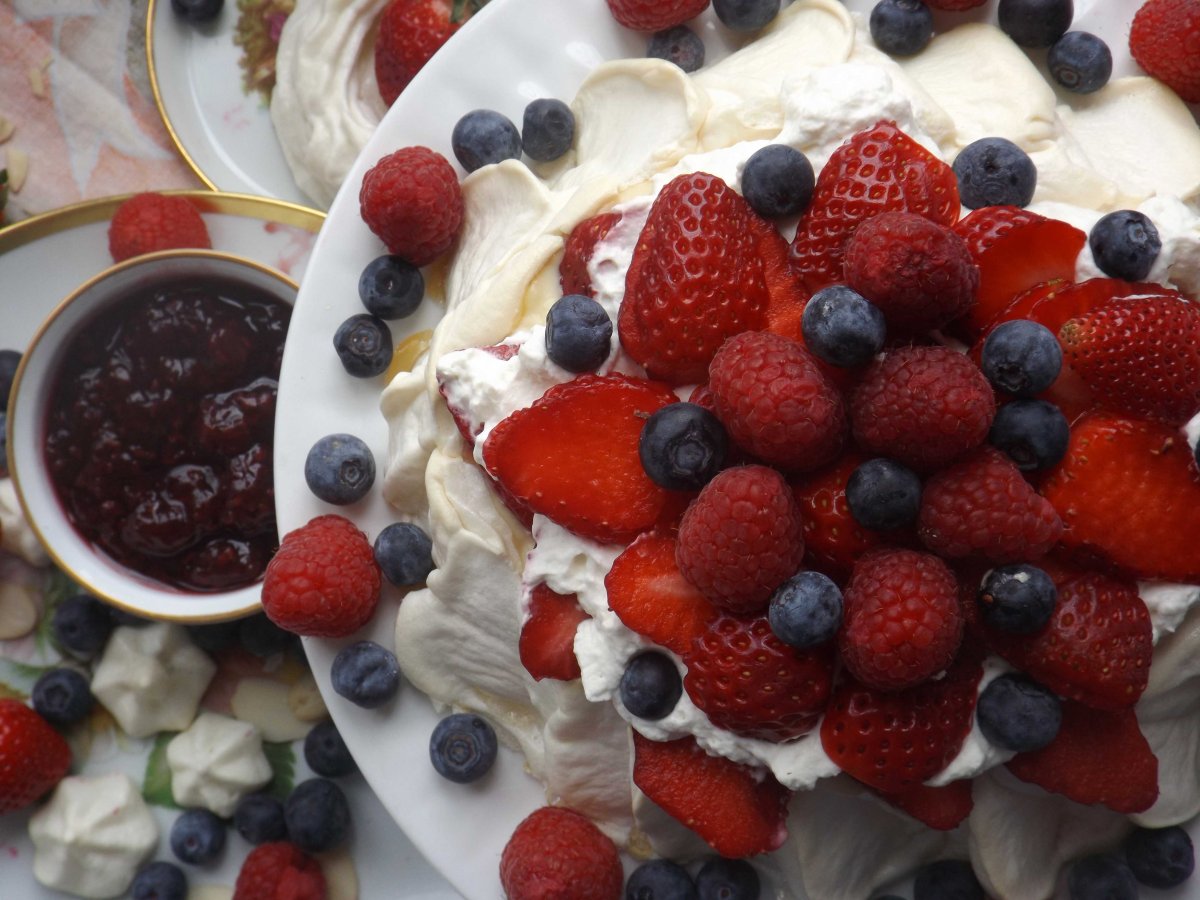
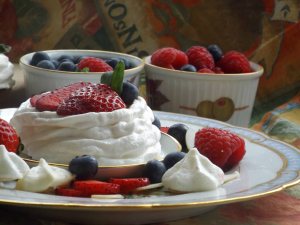
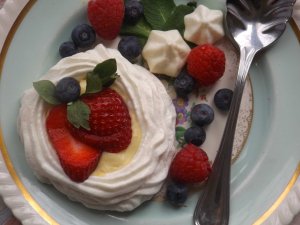
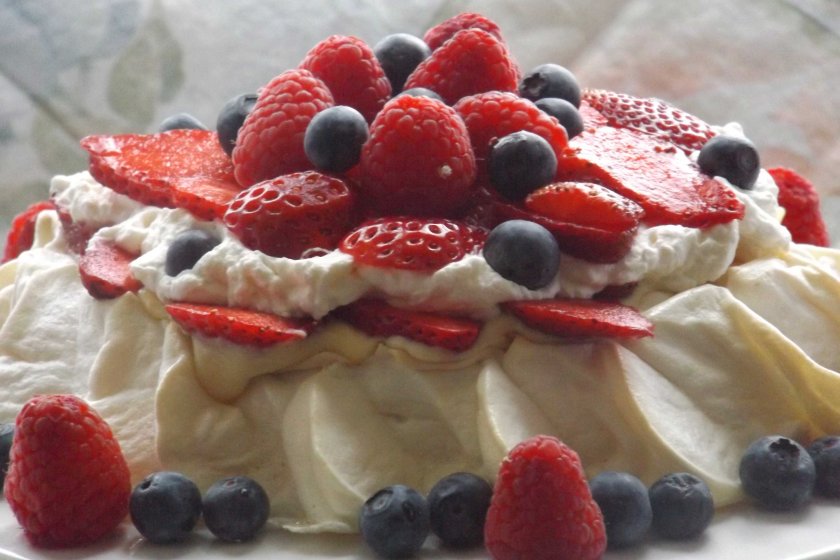
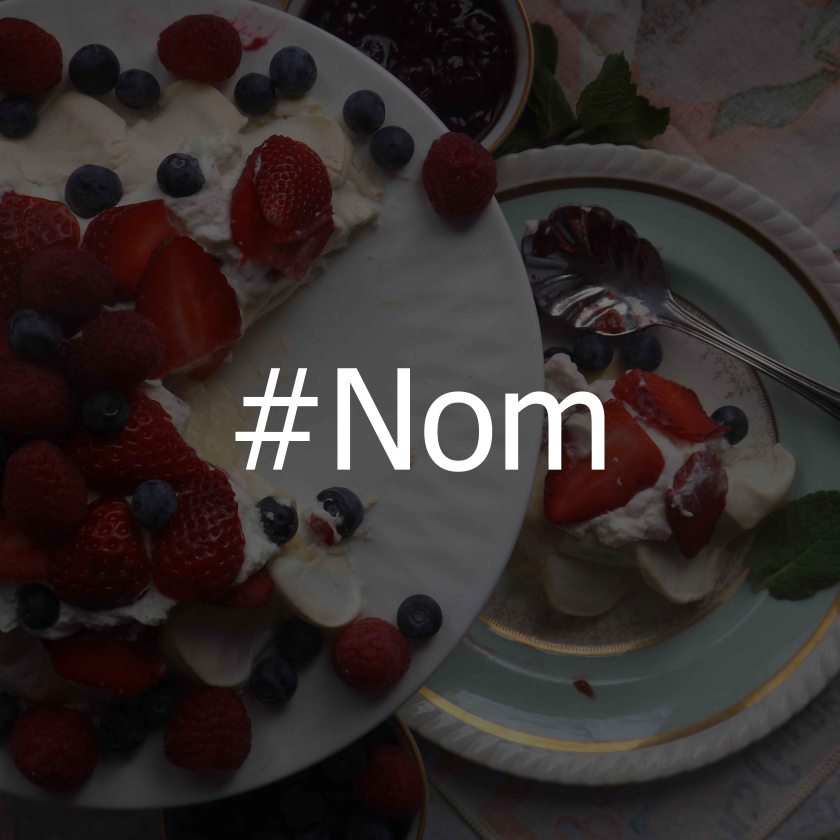
- Pavlova – Place the meringue base on a serving plate. Fill the centre of the meringue with either crème diplomat or a layer of crème pâtissière, followed by a layer of stabilized whipped cream (see below). Decorate with the fruit of your choice. I used strawberries, raspberries, and blueberries. Just have lots of fruit.
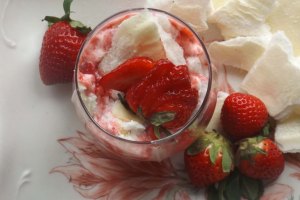 Eton Mess (or Eat-in-a Mess) – In a blender or food processor, purée most of a pint of strawberries, keeping a few back to chop roughly by hand. Fold the puree and chopped strawberries into stabilized whipped cream to combine. Break the sheet of meringue into pieces that range in size up to 5 cm. Fold the smaller pieces into the whipped cream/strawberry mix. You will not use all the meringue – maybe about half of the sheet for about 6 servings. Store leftover meringue in an airtight container for up to two weeks. Fill a fluted or other glass with the mixture and stick a few larger shards of meringue into the top to decorate. Serve chilled.
Crème Pâtissière
- Serves: 6-8
- Hands-on Time: 20 min
Ingredients:
- 1 ¾ c milk
- ¼ c whipping cream
- 1 tbsp. granulated sugar
- 4 large egg yolks
- 1 large egg
- 2 ½ tbsp. cornstarch
- Pinch of salt
- 1 tbsp. vanilla bean paste or vanilla extract
- ½ tsp. pure orange extract
- Grated zest of 1 orange
- 3 tbsp. unsalted butter, softened
Steps:
- Place milk and cream in a saucepan and bring to a boil over a medium heat.
- While the milk is heating, combine sugar, egg yolks, large egg, cornstarch, salt, and vanilla in a bowl and whisk them together until thick and smooth. Set aside.
- As soon as milk starts to boil, remove it from the heat. Slowly pour about half of the hot milk in a thin stream into the yolk mixture, whisking constantly, so that the yolks become tempered before being added to the remaining milk. Add the now-tempered yolks to the remaining hot milk still in the saucepan.
- Heat the custard base over medium heat, stirring constantly, until the mixture begins to thicken, about 2 to 3 minutes.
- While continuing to stir constantly, let the mixture come to a boil. You will see bubbles begin to rise to the surface. Cook a further 1 to 2 minutes after the custard begins to boil. Remove from heat and add orange extract and zest. Stir to combine. Whisk in the butter thoroughly.
- Pour the custard into a bowl and cover with plastic wrap. The wrap should be placed directly on the surface of the custard to prevent it from forming a skin.
- Let the custard cool to room temperature, then refrigerate it for a few hours or overnight to chill completely.
- Use the crème pâtissière as desired.
Tip: You can make the custard dairy free by using any neutral-flavoured milk substitute of your choice.
Alternatives:
- Stabilized Whipped Cream – Soften ½ tsp. of gelatin in 1 tbsp. of cold water to soften the gelatin. Then gently warm the mixture on the stove top until the gelatin melts into the water and you have a clear liquid. Begin to whip the cream and once it thickens somewhat, add any sugar and flavourings (if using), then pour the gelatin into the cream in a thin stream while beating continuously. Continue to beat until quite thick, being careful not to overbeat.
- Crème Diplomat – Fold about half of the chilled crème pâtissière into the stabilized whipped cream. Use as desired.
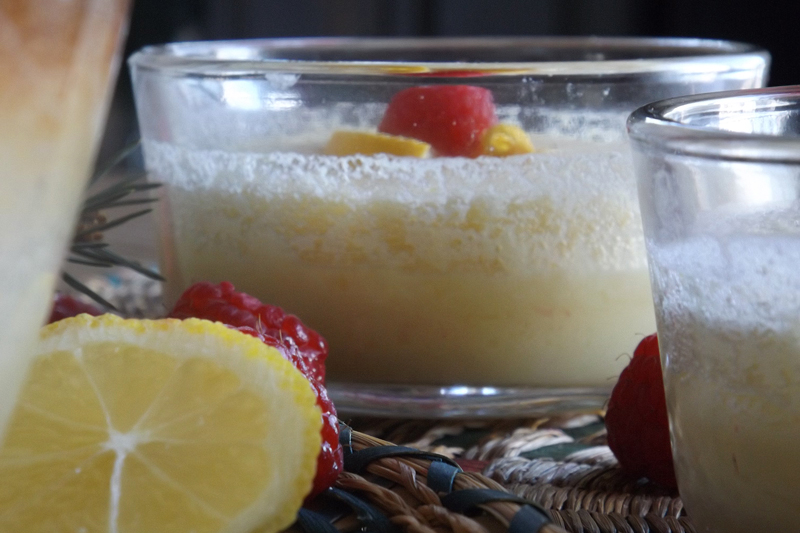


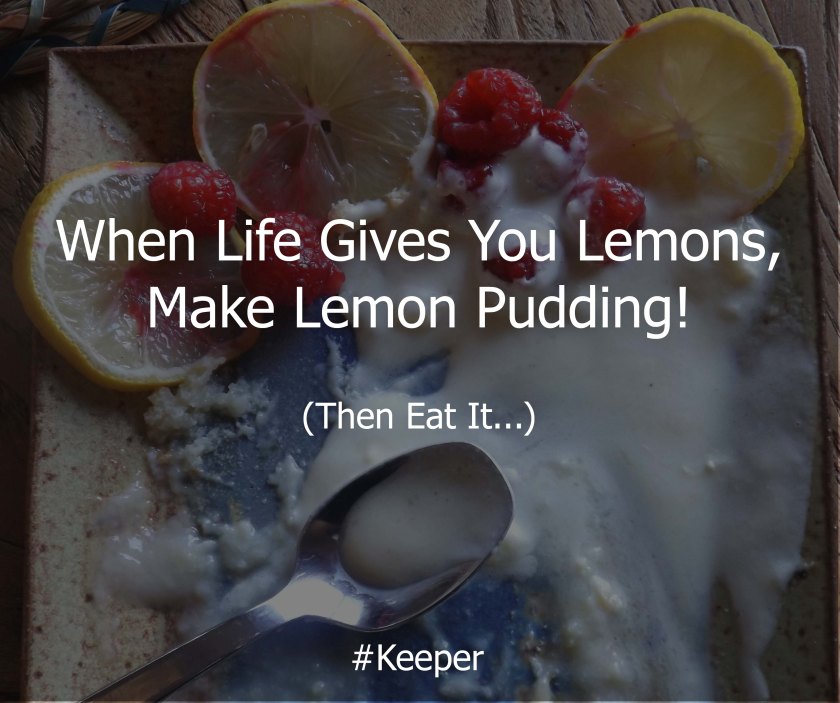
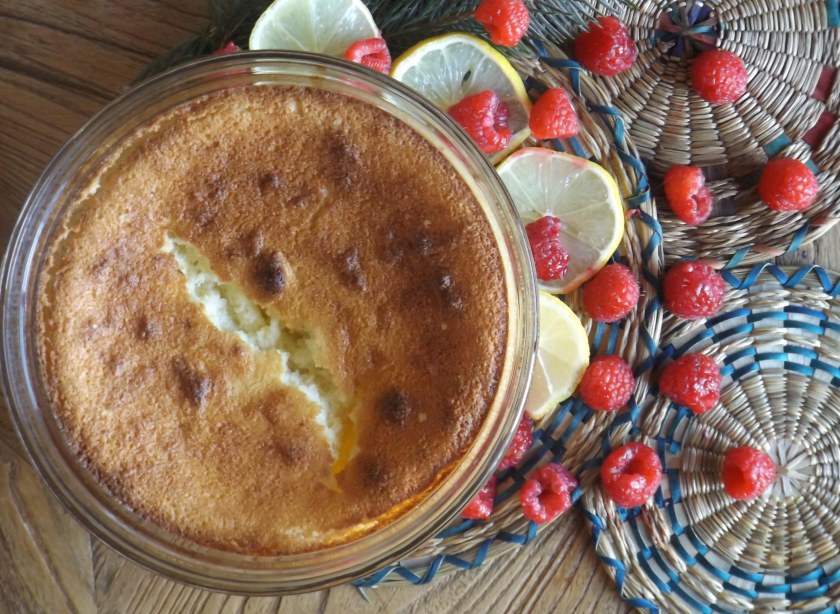 Some of my grandmother’s recipes that I really can’t do without are written on the end pages of one of the first cookbooks that I purchased for myself, The Fannie Farmer Baking Book, when I moved into my first apartment. Of those, the one that I return to most often is Nain’s Lemon Pudding. It is light, fresh, and deliciously lemon. I like to serve it warm with a scoop of frozen vanilla yogurt.