 |
 |
 |
In many homes the holiday season calls forth treasured family recipes that are an important part of celebratory traditions. With Christmas approaching, I’m looking to these recipes for some relaxed baking fun. Part of what makes them relaxing and fun is that they are perfect as they are. One of the must-do recipes in our house is for shortbread. When I was living in residence at university, I decided to serve these at a seasonal open house in my room. A perfect choice as they required few ingredients and could be made by hand if necessary (which was the case in the minimally equipped floor kitchen). I procured what I needed and set the pound of butter in a saucer and placed it on the radiator to soften while I went to work in the library. When I returned, I found that not only had the butter softened, it had mostly melted and overflowed the saucer, running down into the unreachable inner workings of the radiator. So, into a refrigerator with the butter to firm it up a bit and then on to making the cookies. The shortbread was a huge success and, with the visible evidence of my mishap wiped up, I forgot all about it. A few days later though, my room began to acquire a rancid, sheep-like smell. Throughout the rest of the winter, I had to leave the heat in my room off and the window cracked no matter how cold it got outside. Made for a long winter.
Just in time for the season, here are some of my family’s holiday favourites. Enjoy!
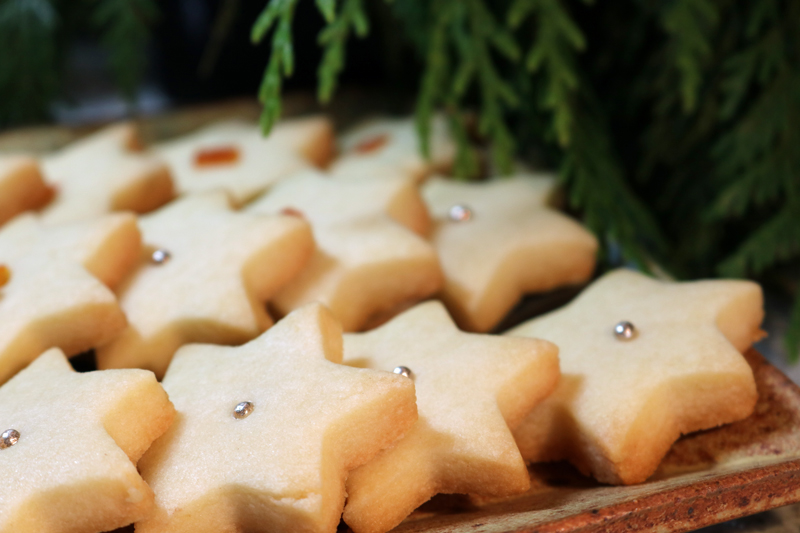
Scotch Shortbread

Of all the recipes tried over the years, this is still the family’s shortbread of choice. While you can use any butter and the shortbread will be great, I recommend purchasing a quality brand (as opposed to a store brand) as they usually have a higher fat content and slightly better flavour. I also like to keep decorations to a minimum so nothing detracts from the luxurious shortbread – usually a small snippet of candied fruit or a single silver or gold dragée. I avoid the balls that come in the round combination of sprinkles containers in the grocery store as they do not always retain their shape and melt into the cookies. I also roll the dough out between two pieces of waxed paper to avoid any sticking issues. The shortbread will keep in an airtight tin for at least a week (if they last that long – yum!) and can also be well wrapped and frozen for up to a month.

- Makes: Approx. 30 (Depending on size)
- Hands on Time: 30 min
- Baking Time: 20 min
Ingredients:
- 1 cup salted or unsalted butter, softened
- ½ cup icing sugar, sifted if lumpy
- 1 ½ cups all-purpose flour
Steps:
- Preheat the oven to 350F. Line two cookie sheets with parchment paper and set aside.
- Cream the butter until light and fluffy (shouldn’t take more than a minute as you are not trying to whip air into the dough). Beat in the icing sugar just until combined.
- Gradually beat in the flour and mix until combined (about a minute, or so). Knead the dough briefly by hand to bring it all together. If your butter was very soft, you may want to wrap the dough in plastic wrap and refrigerate it for about 30 minutes to firm up a bit. Otherwise, you can proceed with the cookies once you have kneaded the dough and it is smooth and easy to handle.
- Pat the dough into a disk and lightly sprinkle the top and bottom with flour. Place a piece of waxed paper on the work surface and dust lightly with flour; place the dough in the middle and cover with a second piece of waxed paper.
- Roll out the dough to a scant ½ inch thickness and cut out your cookies. I usually use cutters between 1 ½ inches to 3 inches. The shortbread are really rich and you don’t want them too big. You also want to cut as many cookies as possible from this first rolling of the dough as cookies from subsequent rollings are not quite as tender (but still perfectly acceptable).
- Use a metal spatula to transfer the cookies to the prepared sheet and bake until the bottom edges are starting to turn a delicate golden brown colour (you can lift one up with a fork for a quick peek – see below), about 20 minutes. I usually do a first check for browning after 15 minutes just to be safe.
- When done, remove from the oven and cool on a baking sheet for 10 to 15 minutes, then place on a wire rack to cool completely. Store in an airtight container.


Variation:
- Divide the dough in half, and add two tablespoons of coloured sprinkles. Pat
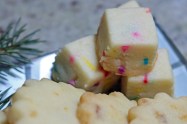
Variation Cookies the dough into a square about ½ inch deep and smooth across the top. Chill for at least 30 minutes. Cut the dough into ½ inch cubes. Bake the cubes as in step 6 above.
- Divide the dough in half and add 2 tbsp of finely grated orange zest. Also add 3 tbsp of finely chopped crystallized ginger.
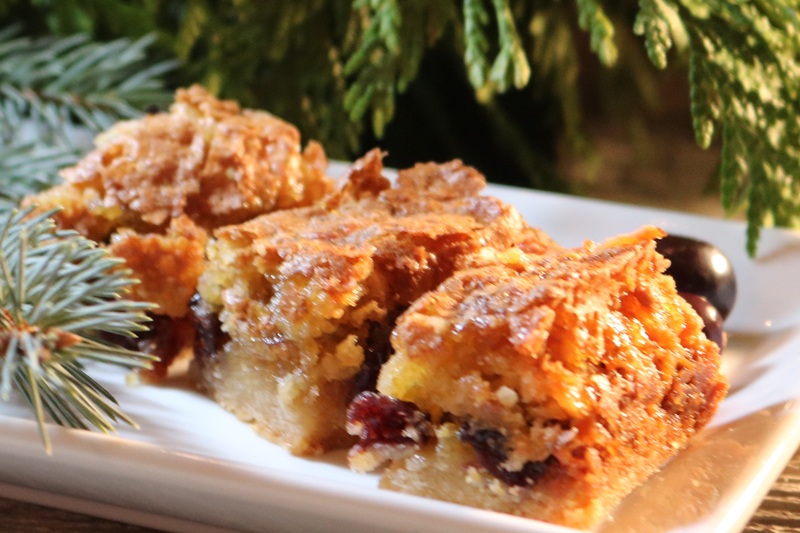
Coconut Toffee Squares
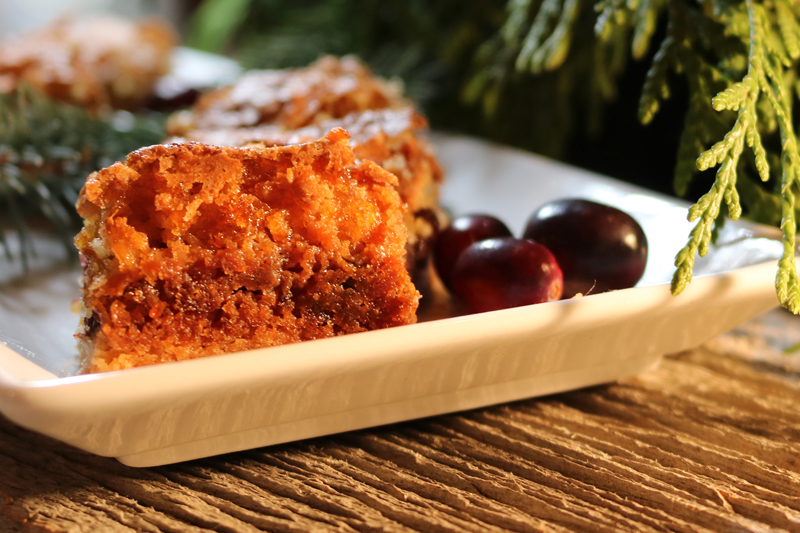
These squares are sweet and totally yummy. They keep well for several days at room temperature in a sealed plastic container. I like to cut them into small squares of roughly 1 inch or so.
- Makes: 32 small squares or 20 larger bars
- Hands on Time: 15 min
- Baking Time: 40 min total
Ingredients:
- Base:
- ½ c butter, softened
- ½ c brown sugar
- 1 c all-purpose flour
- Topping:
- 2 large eggs
- 2 tbsp all-purpose flour
- 1 c brown sugar
- 1 tsp baking powder
- ½ tsp salt
- 1 c shredded sweetened coconut
- 1 tsp vanilla extract
- ½ tsp almond extract
Steps:
- Preheat the oven to 350F. Line an 8 inch square pan with parchment paper and set aside.
- For the base: Cream the ½ cup of butter briefly with the brown sugar and then beat in the 1 cup of flour until combined. You will have a crumbly mixture. Press firmly and evenly into the prepared pan and bake for 10 minutes in a 350F oven.
- While the base is baking, prepare the topping. In a bowl, combine all the topping ingredients and beat them together.
- After the base has baked for 10 minutes, remove it from the oven and spread the topping mixture over the base. Return to the oven and bake for a further 25 to 30 minutes until the top is golden brown and the filling below is set. Remove from the oven and cool in the pan on a wire rack. When the squares are still somewhat warm, lift the uncut baking out of the pan by the parchment and cut it into squares. Cool completely.
My Christmas Variation: Add 2 tbsp of finely grated orange zest and a ¾ cup of dried cranberries to the topping mixture, stirring them in after the other topping ingredients have been combined.
Swedish Spritz
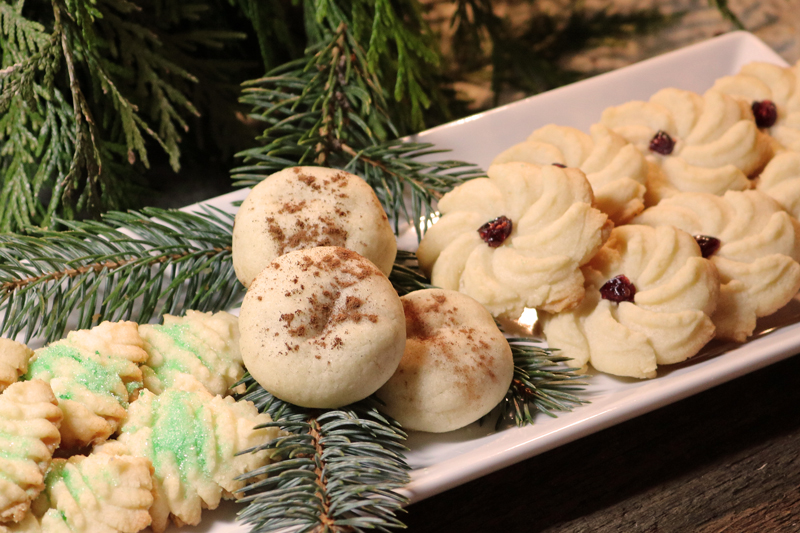
These cookies have always been a favourite of mine. My mom made these every Christmas. For these cookies, you will need a cookie press. These take a bit of practice. It’s worth mentioning that I learned some choice vocabulary watching my mom trying to operate her cookie press. But the cookies were always good! If you don’t want to use a cookie press, it is also possible to chill the dough and then roll it and cut it with cookie cutters.
Once I have the cookies pressed out onto the cookie sheet, I chill them in the refrigerator for at least 30 minutes. This helps the cookies to keep their unique shape while baking. Without the chilling, the cookies tend to spread and loose definition. You can decorate these cookies before or after baking. I usually add a sprinkling of coloured sugar before I bake them. I make my own coloured sugar by adding a little food colouring (either liquid or paste) to some granulated sugar that I’ve placed in a baggie and then I give the whole works a good shake.
- Makes: Approx. 40 cookies.
- Hands on Time: 45 min
- Chilling and Baking Time: 40+ min
Ingredients:
- 1 ½ cups salted butter, softened
- 1 cup granulated sugar
- 1 large egg, well beaten
- 2 tsp pure vanilla extract
- 3 ½ to 4 cups all-purpose flour
- 1 tsp baking powder
Steps:
- Line two cookie sheets with parchment and set aside.
- Cream the butter briefly, then beat in the sugar thoroughly. Add the egg and vanilla and beat until well combined.
- Combine the flour and baking powder (and any spices you might be adding – see variations). Gradually beat the flour mixture into the butter/sugar/egg mixture and mix until you have a smooth dough. Do not over mix.
- If using a cookie press, force the dough through a cookie press now. If not using a cookie press, shape it into a disk, wrap in plastic wrap and refrigerate it for about 30 minutes before rolling out and cutting. If you are having trouble getting the dough to come away from the press and separate cleanly when forming the cookies, you probably need to add a little more flour to the dough. In this case, gather the dough back together and knead in by hand another ¼ to ½ cup of flour. Cookies should be about 1½ inches apart on the cookie sheet. Add decorations as desired and chill the cookies on the sheet for at least 30 minutes.
- Preheat oven to 400F. Bake the chilled cookies until set but not brown, 8 to 10 minutes. Keep an eye on these – they burn easily.
Variations:
- You can also play with this recipe by adding spices like cinnamon, nutmeg, cardamom, and ginger, or a combination along with the flour. A teaspoon or so should be enough, but you can also add to taste.
- You can also wrap the dough around the small Lindt Lindor chocolate balls for a cookie with a surprise. Bake as above.


Hi Catherine. I really love people who cook. I was wondering, how did you really know that your passion is cooking? I’m still figuring out mine and a lot of times I enjoy cooking, but I don’t think I would be that really great on it. Maybe you can share your thought. just wondering.
LikeLike
Hi there! I found, from a young age that I really enjoyed making good food for people. Over time I became very interested in all facets of cooking and baking (including the science) and found myself buying cookbooks and cooking magazines all the time. Anyone can cook and some solid technical skills and know-how help. I’d suggest trying a cooking class or two (going with a friend is always fun). Cooking classes are either demonstration classes or hands-on. You probably learn the most in a hands-on course as they tend to be smaller. Check out evening high school adult learning, community college interest courses or cookware stores and some grocery chains to find something that appeals to you. Try a variety of things, venturing outside your comfort zone. Also, don’t get down if things don’t always work out. I’ve had plenty of disappointments – if not outright disasters – along the way. Just try to figure out what went wrong and why and try again. Always ask yourself: are you enjoying it and having fun? If so, keep going!
LikeLiked by 1 person
This is great Catherine! You know I’m still in the process of knowing myself more on what I really love to do. I adore yo that it is already clear to you what you want.
LikeLike